The Making of a Hollow Wooden SUP
It always starts with a pile of dust…
Free handed the initial curves and V-nose cut out.
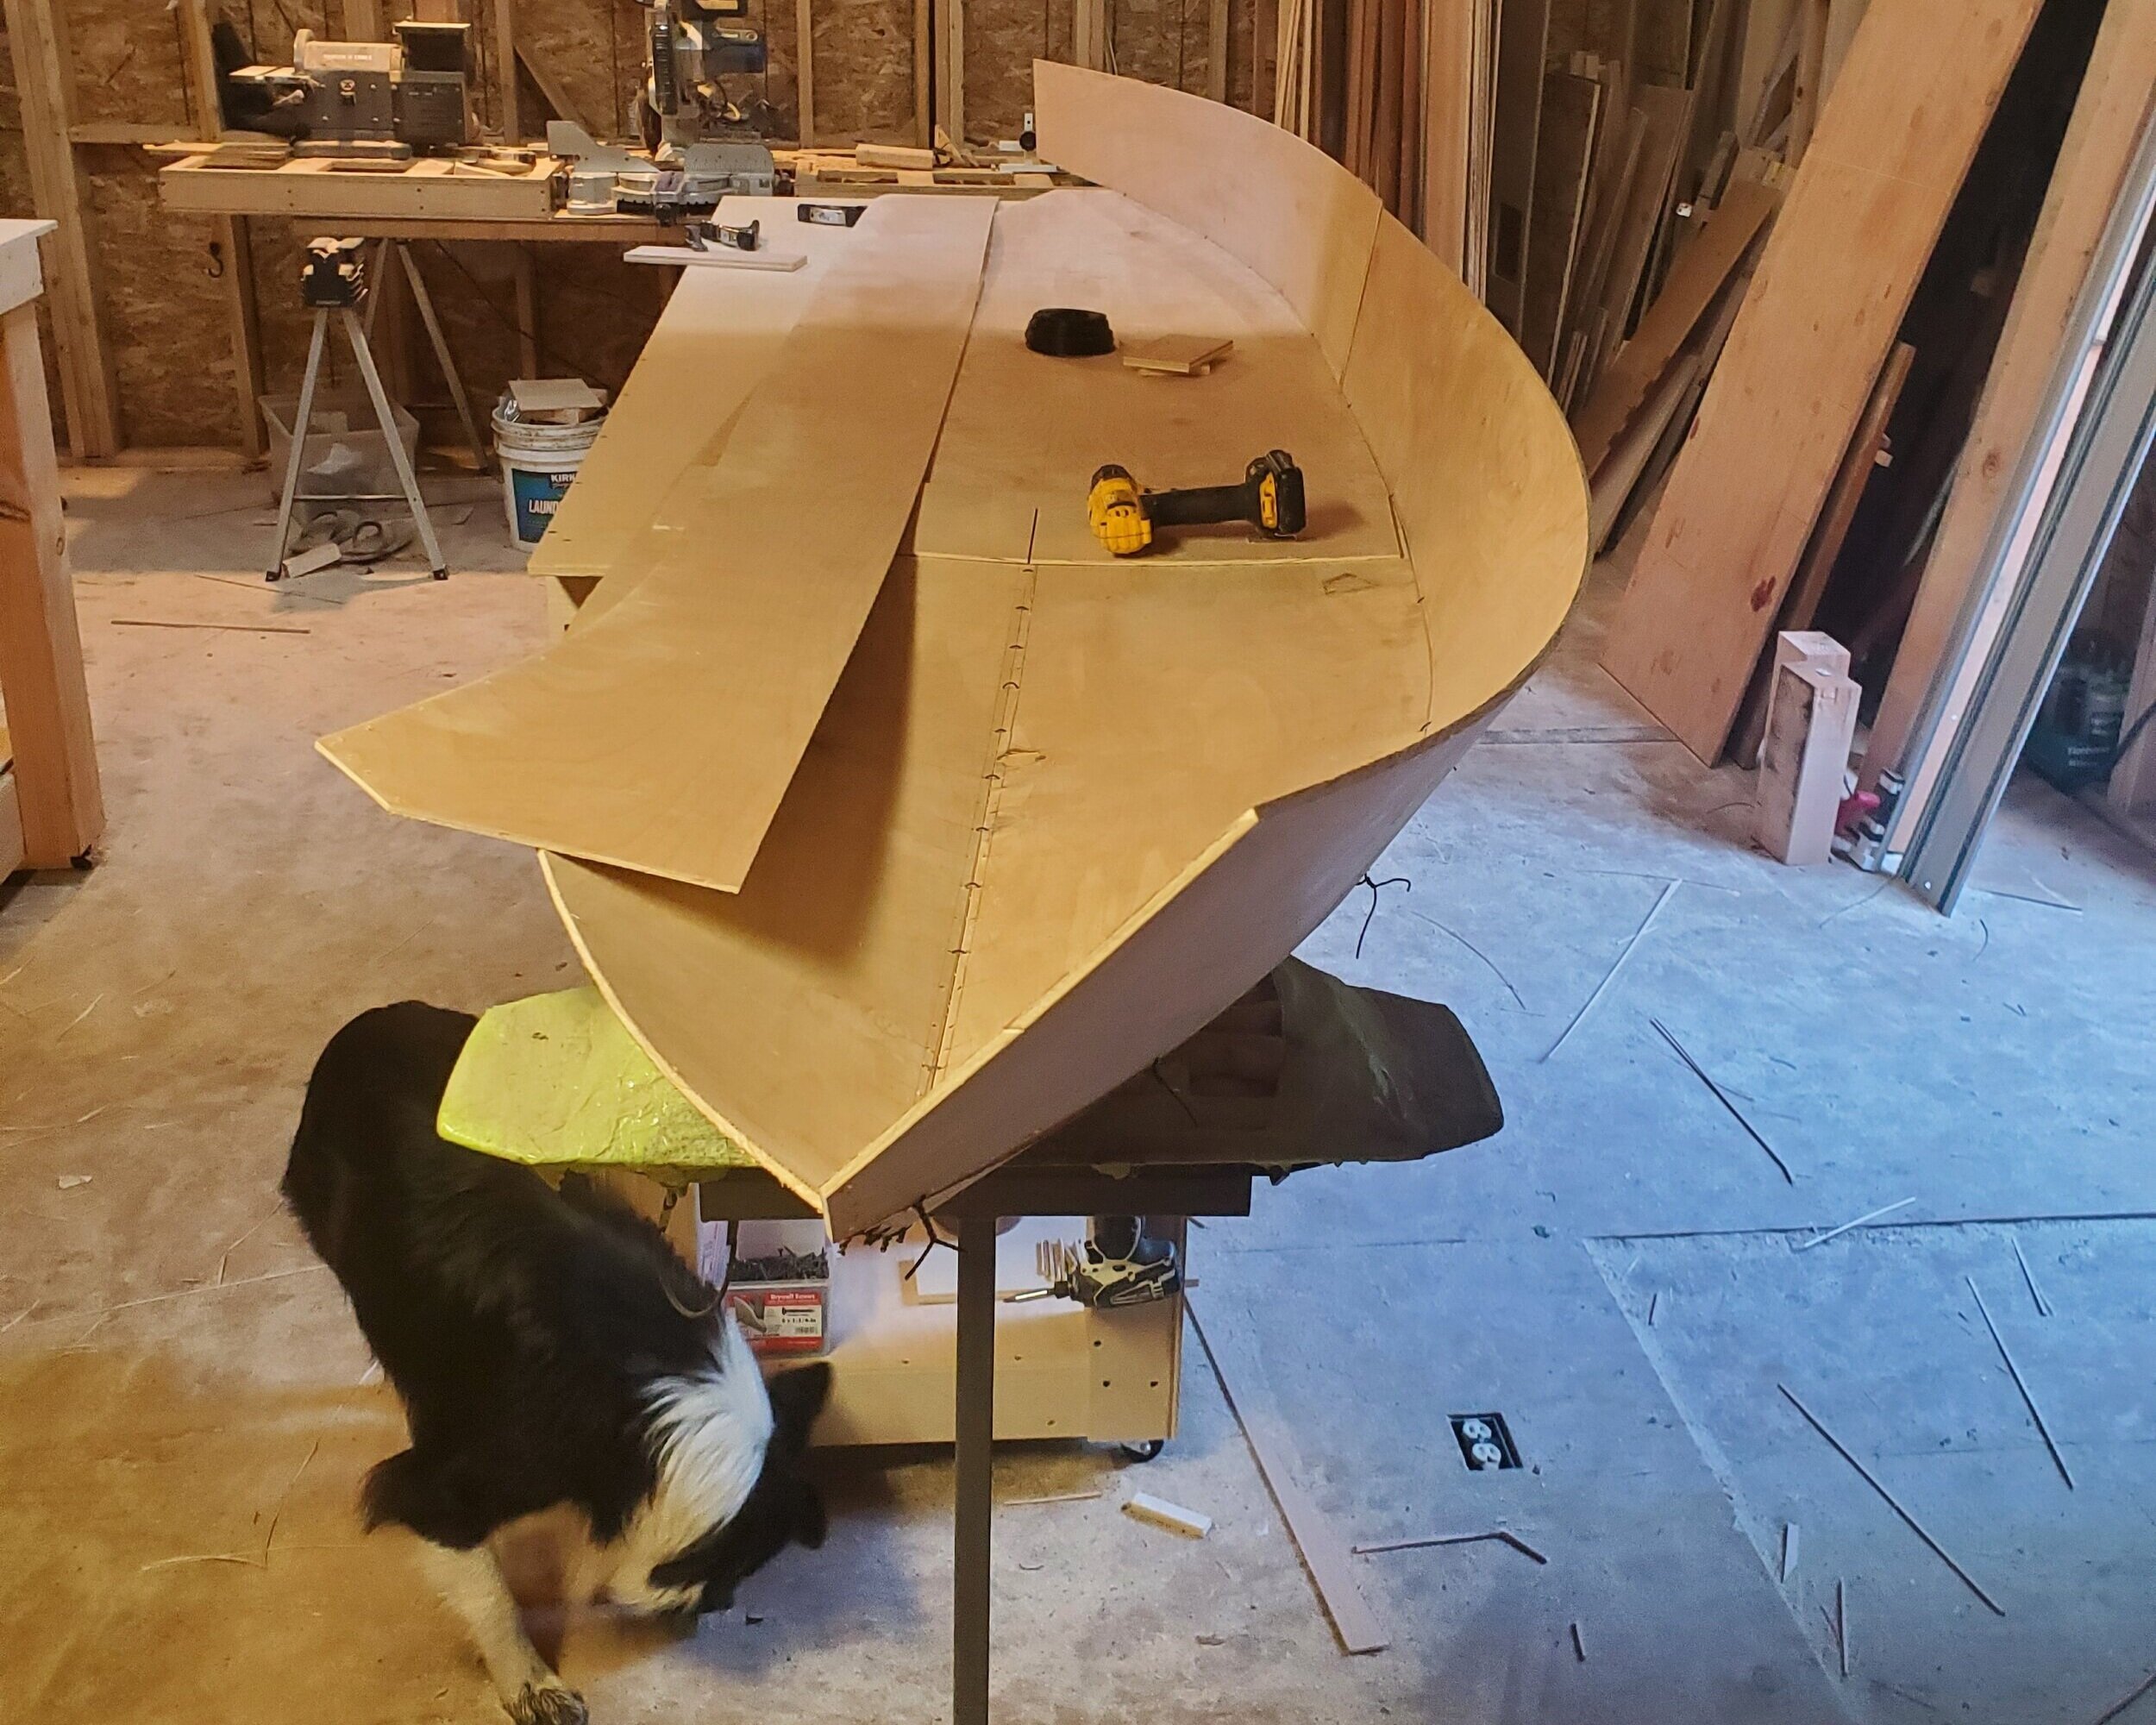
Scabbing together side pieces for the full 12 foot length.

Trial and error - the shape of a watercraft
The first curve of the sides is set to find the deck curve.
It begins to take a full shape.
Both sides were cut together so the patterning only happens once.
How will it paddle?

Interior Framing

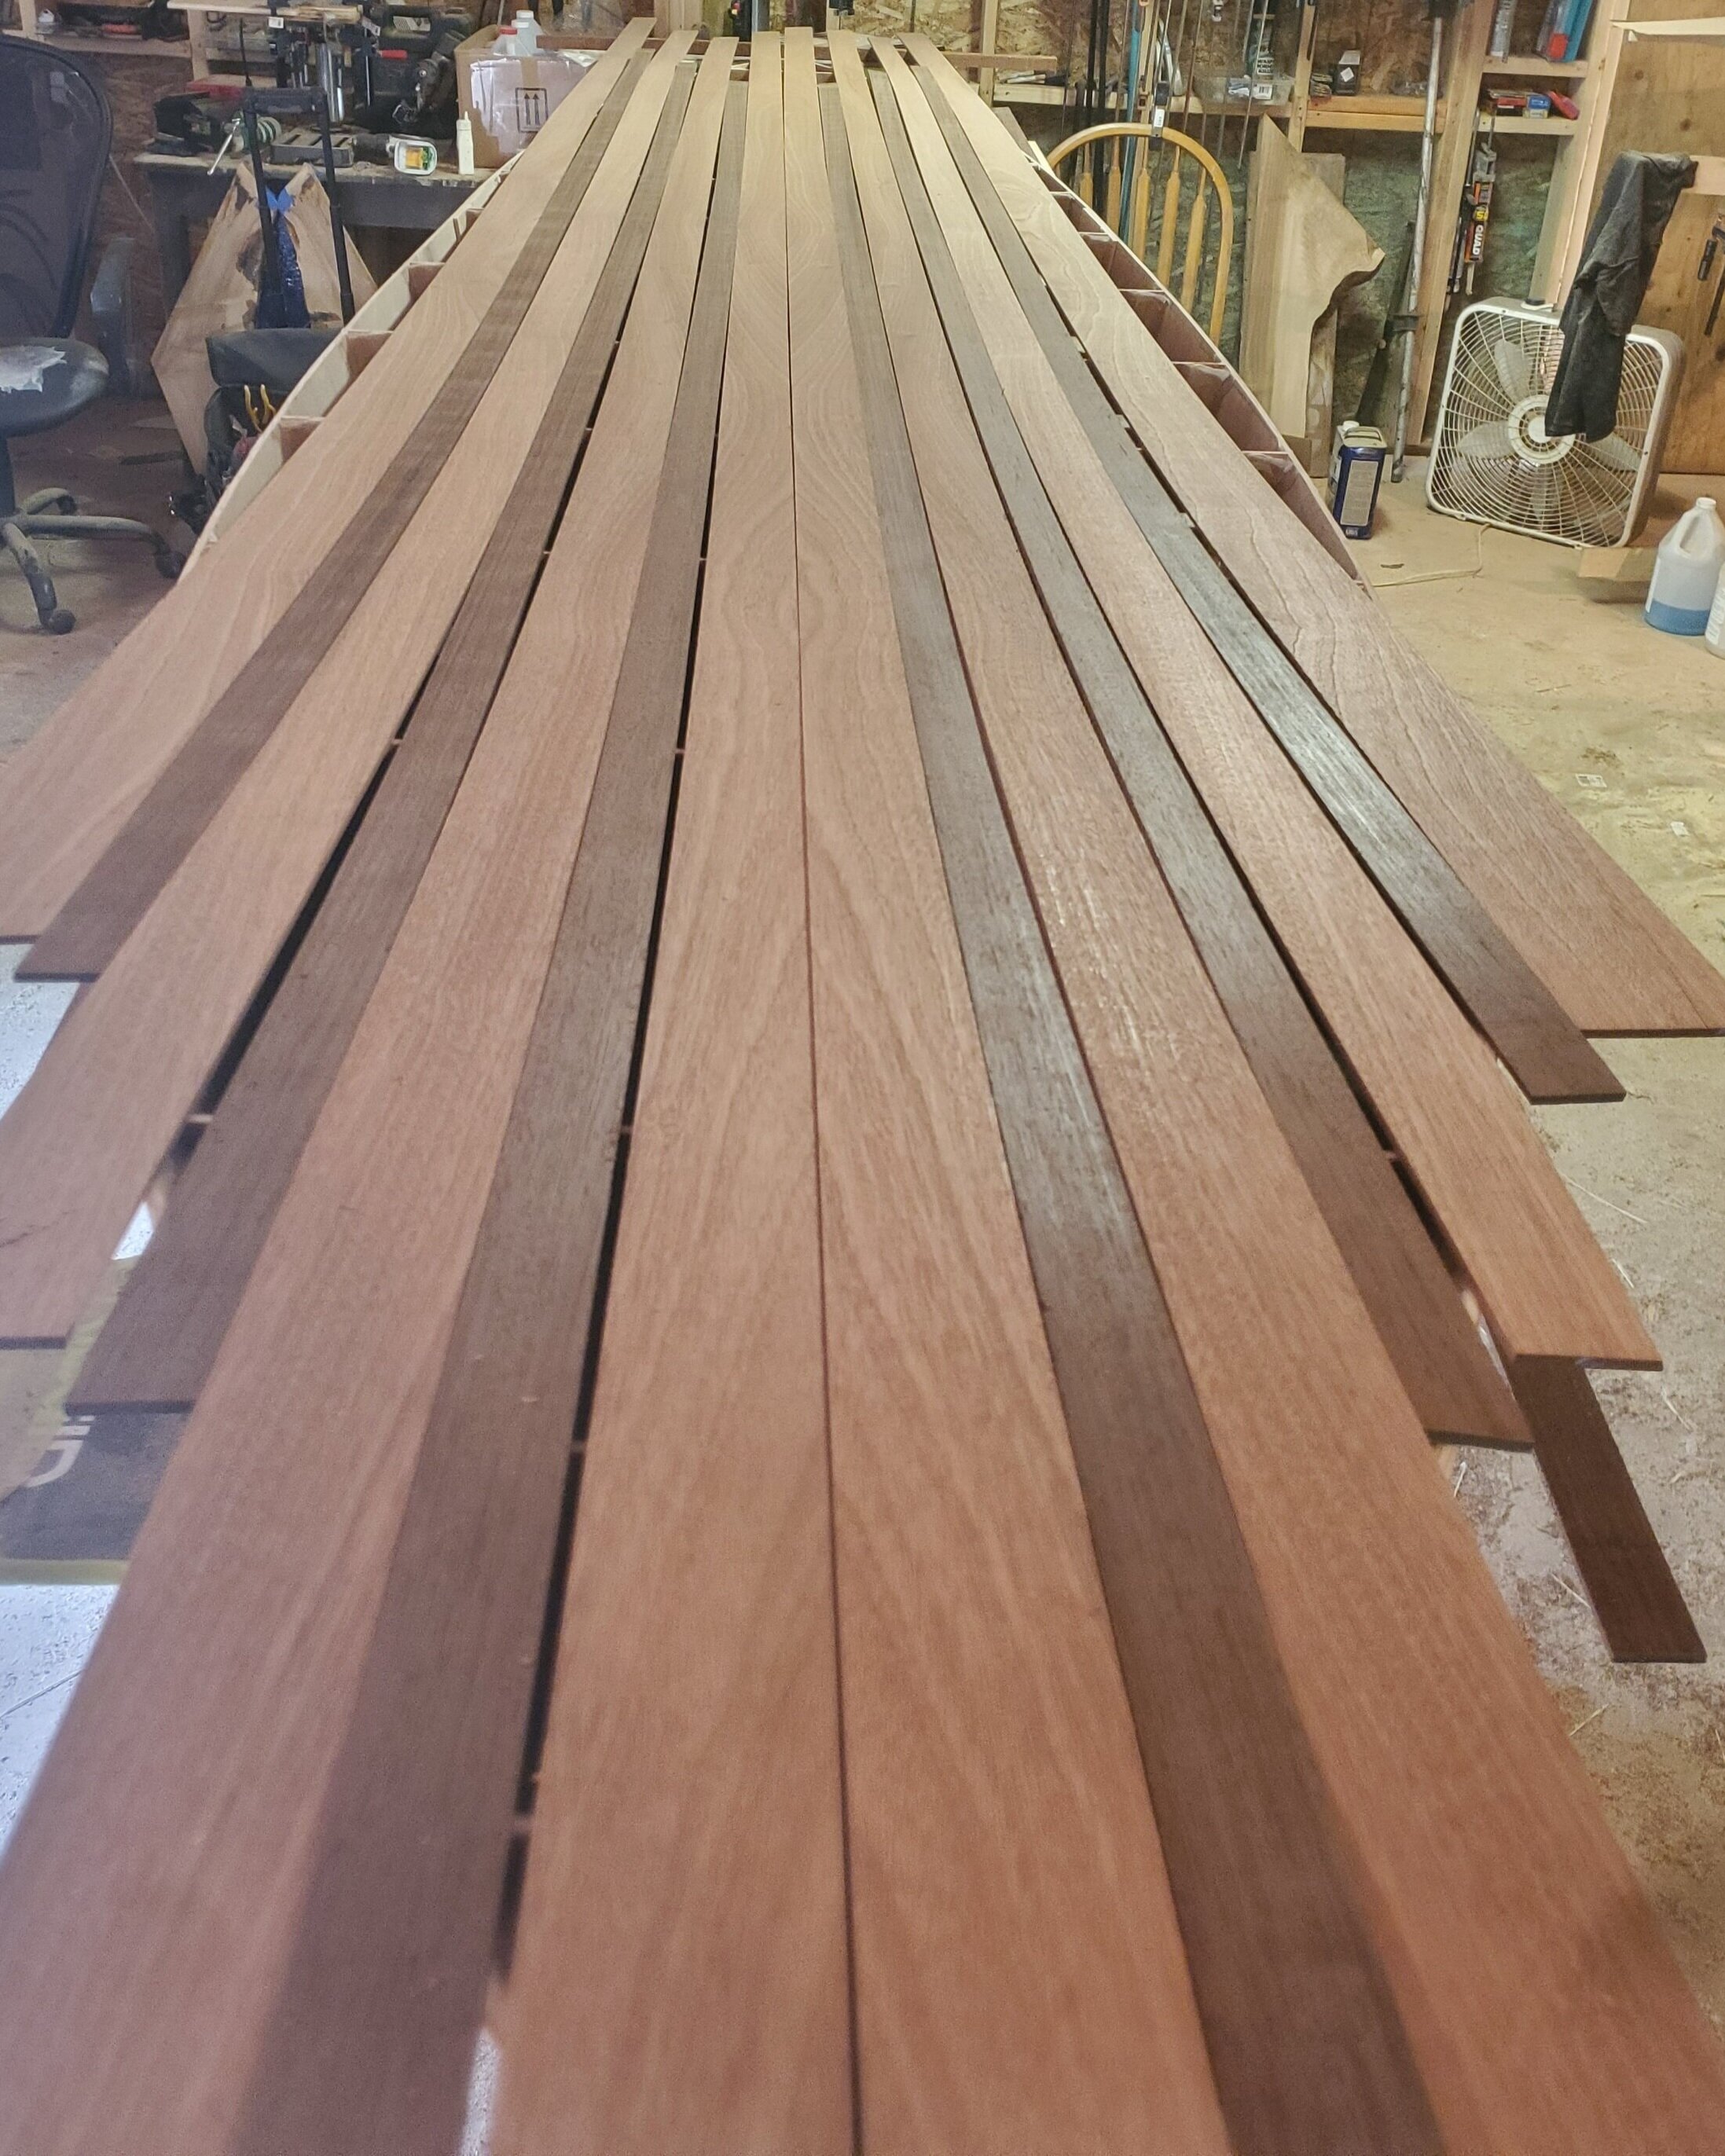
The Sapele and Walnut hardwoods are planed to thickness
Decking is ripped to width, marking each for book matching

First ride on our “dumb waiter.”
The clamp forest sprouts up
Each piece of decking is glued in place
Somewhere under there is a paddleboard!
The deck is routed to the sides and the true shape emerges.
Tail to nose
The prow lines add a stealthy look
Nose to tail
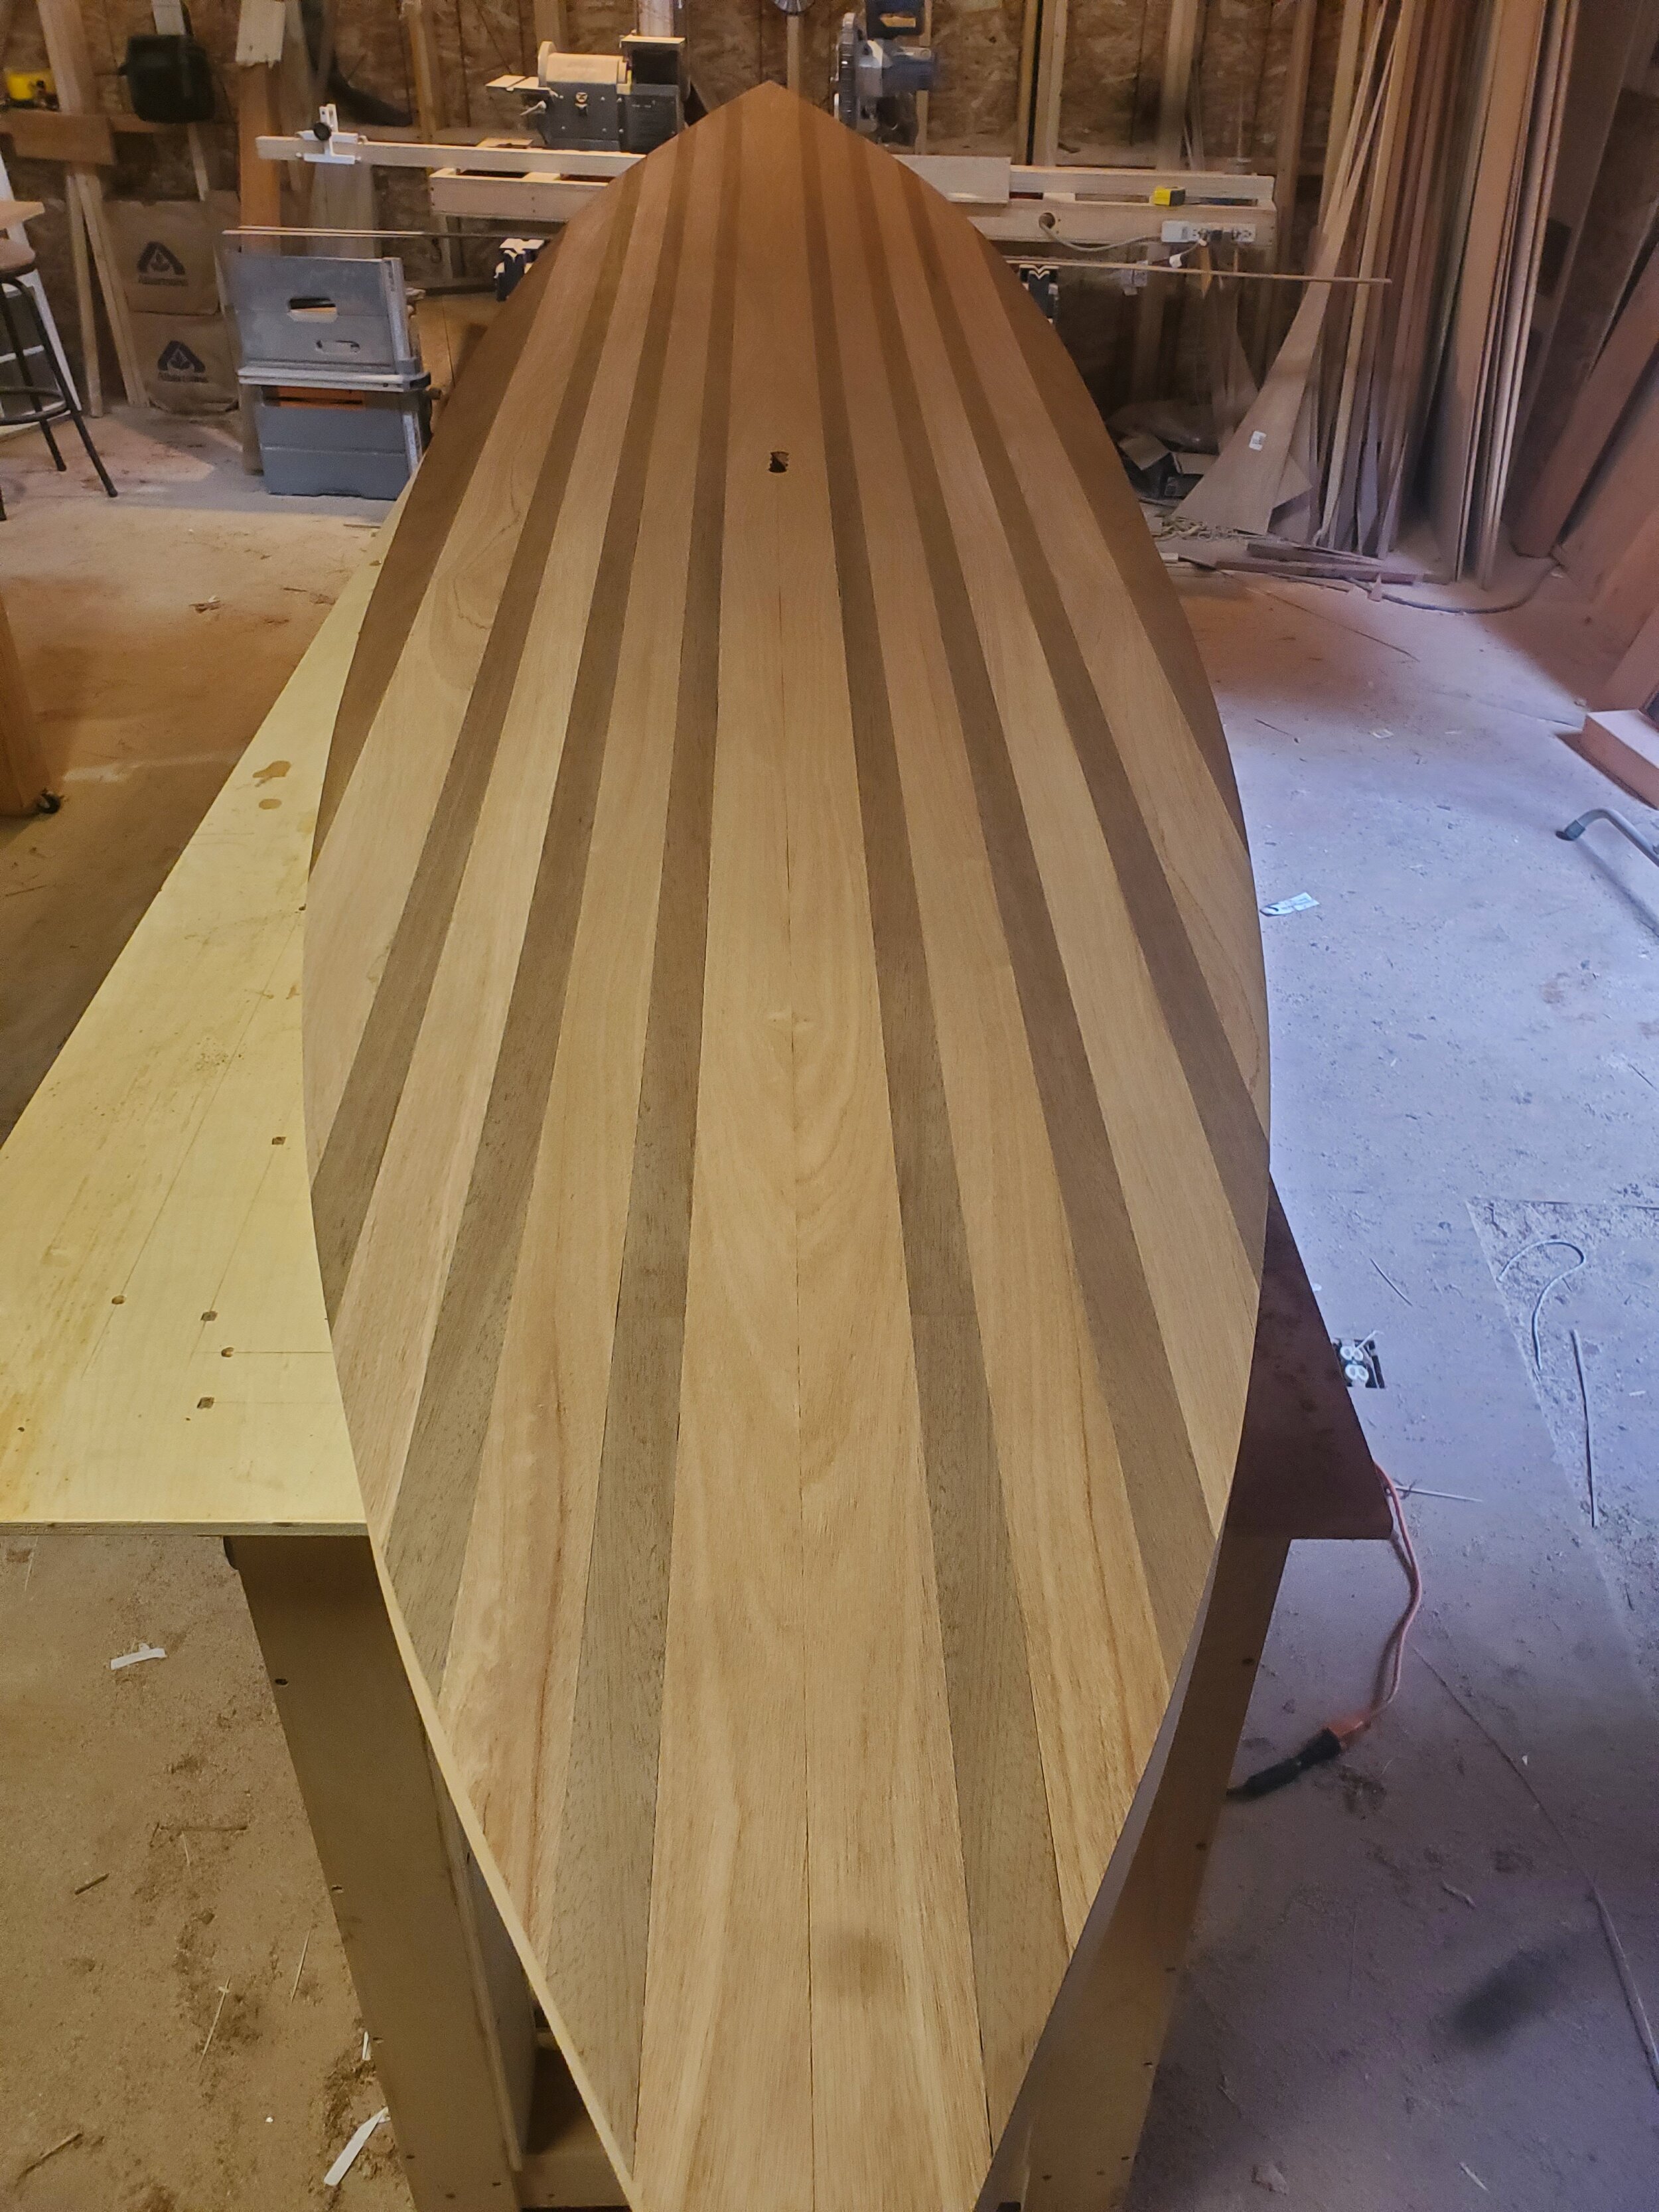
Leaf matching from the nose

Into the glassing room.
First layer.
Layers of glass play tricks on the eye
Single layer of glass for the bottom
A classic layout for the decking
Second layer on top - sanding in between
The speedy looking gloss finish
And, finally… Out to the beach! This V-nose touring SUP paddled effortlessly, keeping up inertia and producing almost nonexistent wake.
Next time, I hope to see you out there!


